Object Dar't

August 4, 2010

WANDERING WEDNESDAY: The Worcester Craft Center in Review!

I recently attended "Hot Night in the City", the Worcester Center for Craft's open studio. I must say that in spite of the small size of the event, it packed a big punch in the inspiration department. Just like the event, the name of The Worcester Center for Craft's, is also misleading. The term "crafts", has become known for being something amateurs plunk at like a hobby which has a restricted flow of creativity. Not so here! The flood gates of creativity were WIDE open and the people that make up the Craft Center shouldn't be called "crafters", but artisans.
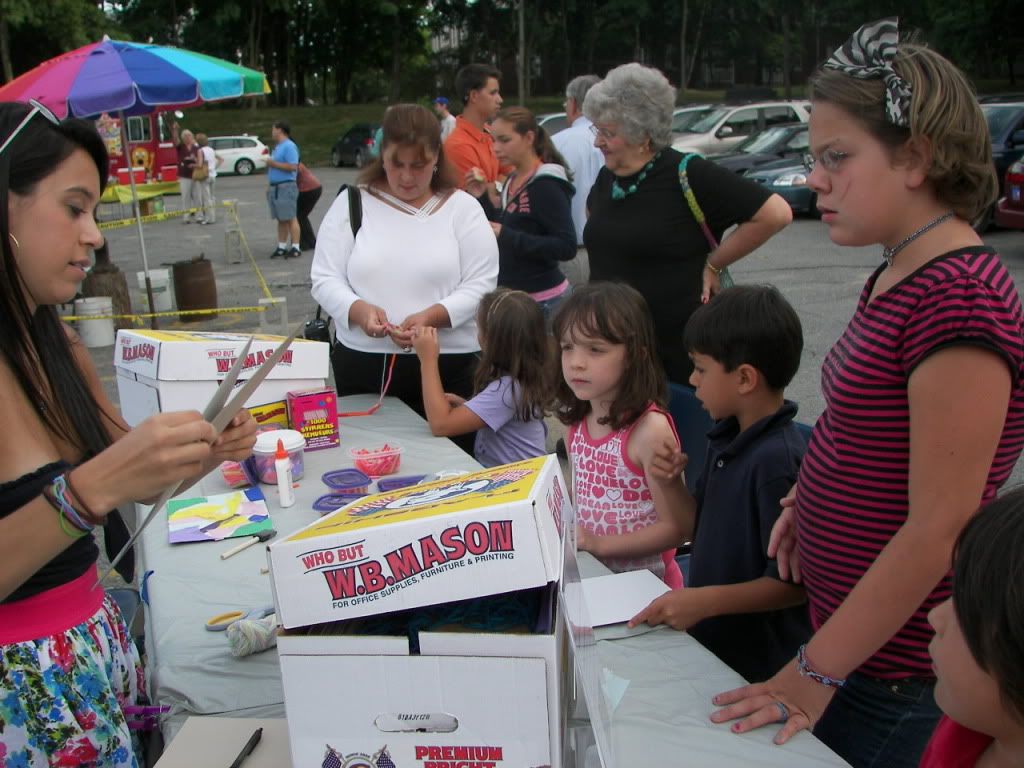
Kids craft activies
The event of course featured the the same old kids craft activities, which was the first thing we did. Inside the Center, various studios were open including loom weaving, pottery throwing (the studio was amazing!), photography, jewelry making, weaving, thrown pottery, glass enameling and even hand-hammered metal works. 
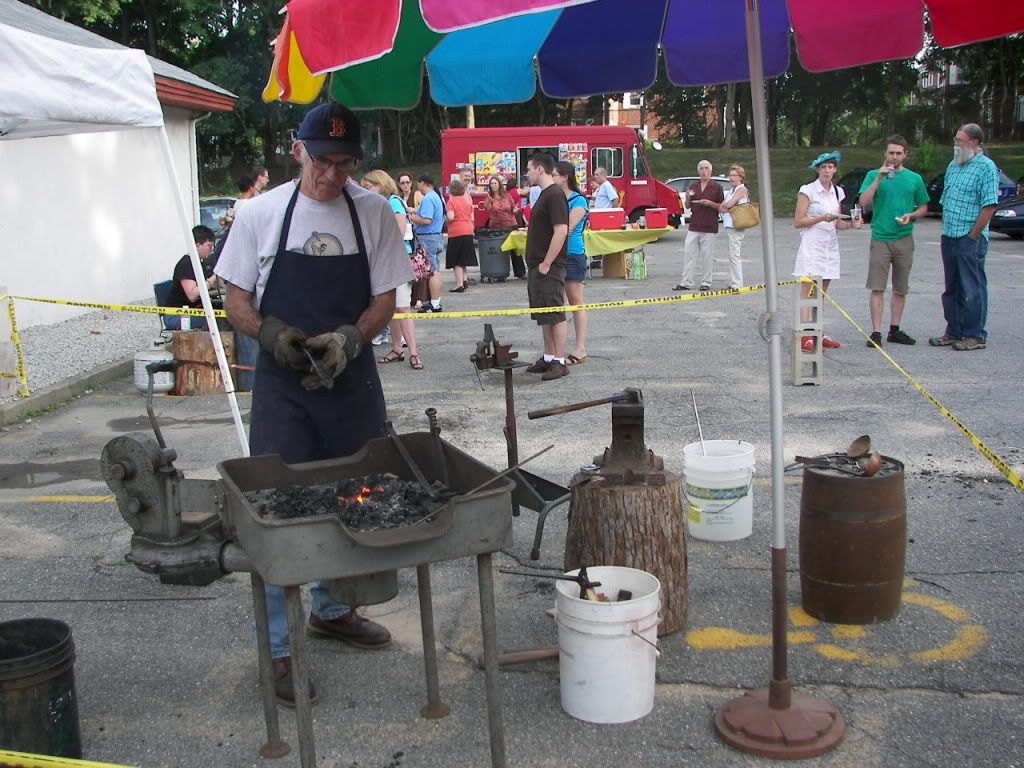
Blacksmith


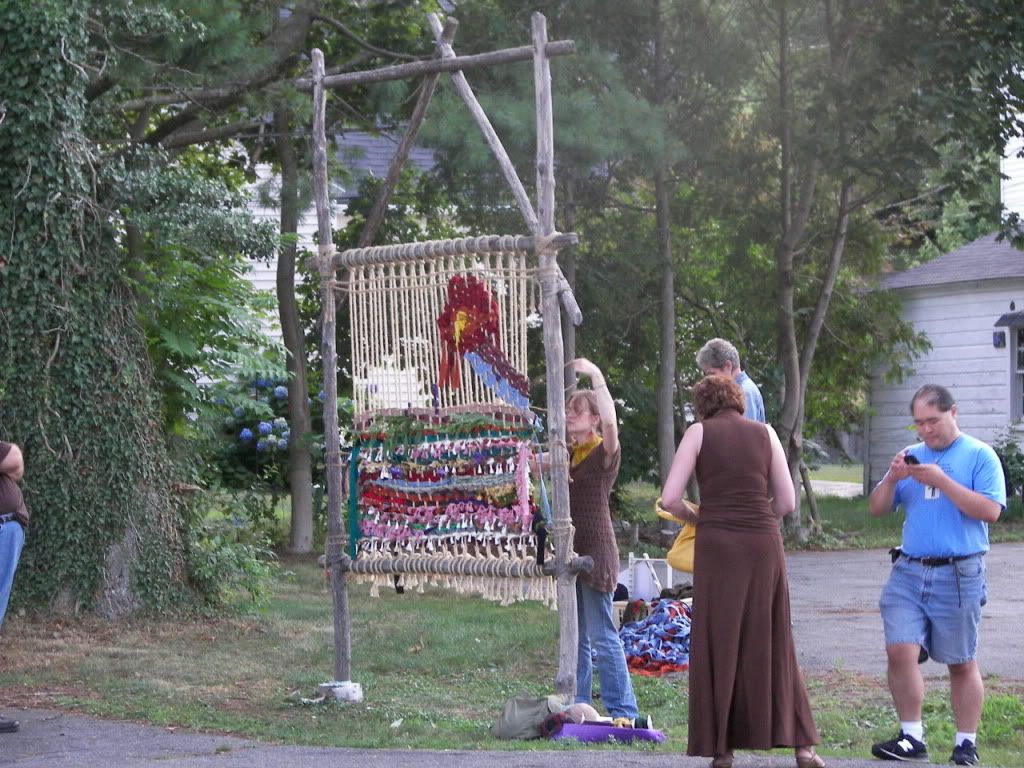
Outside the Center were top-notch demonstrations of rustic weaving, a potter at the wheel, glass bead making, blacksmithing and a clay tile mosaic (which you could decorate for a fee)


Rustic Weaving


but the pièce de résistance was the Raku firing. 

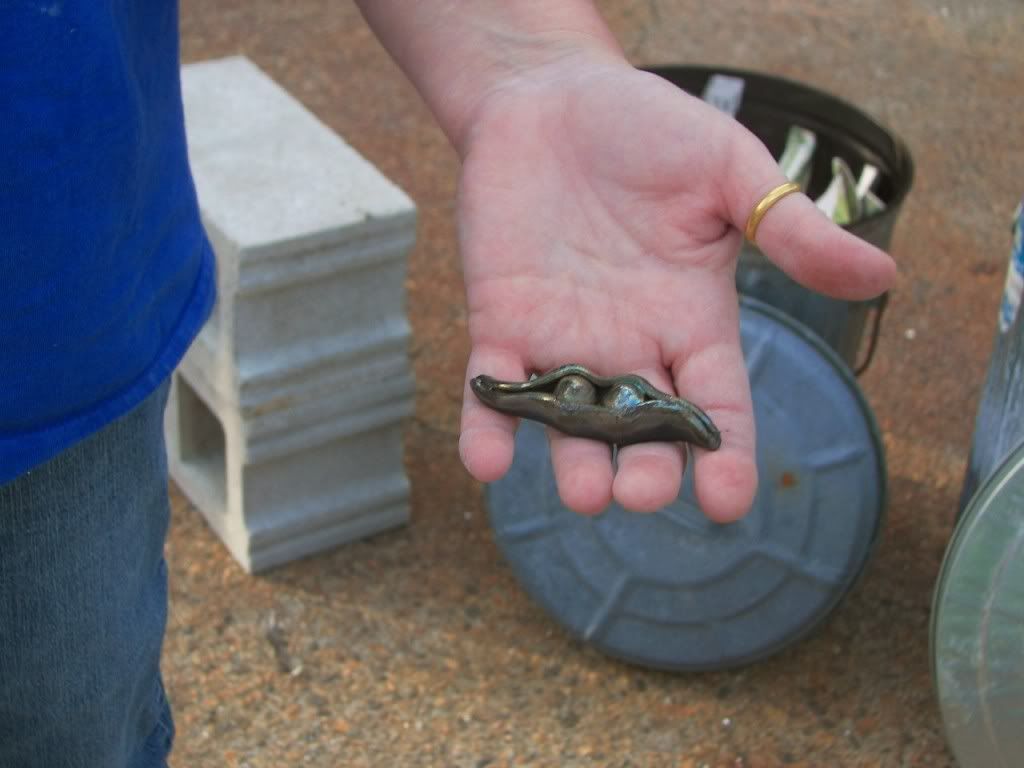
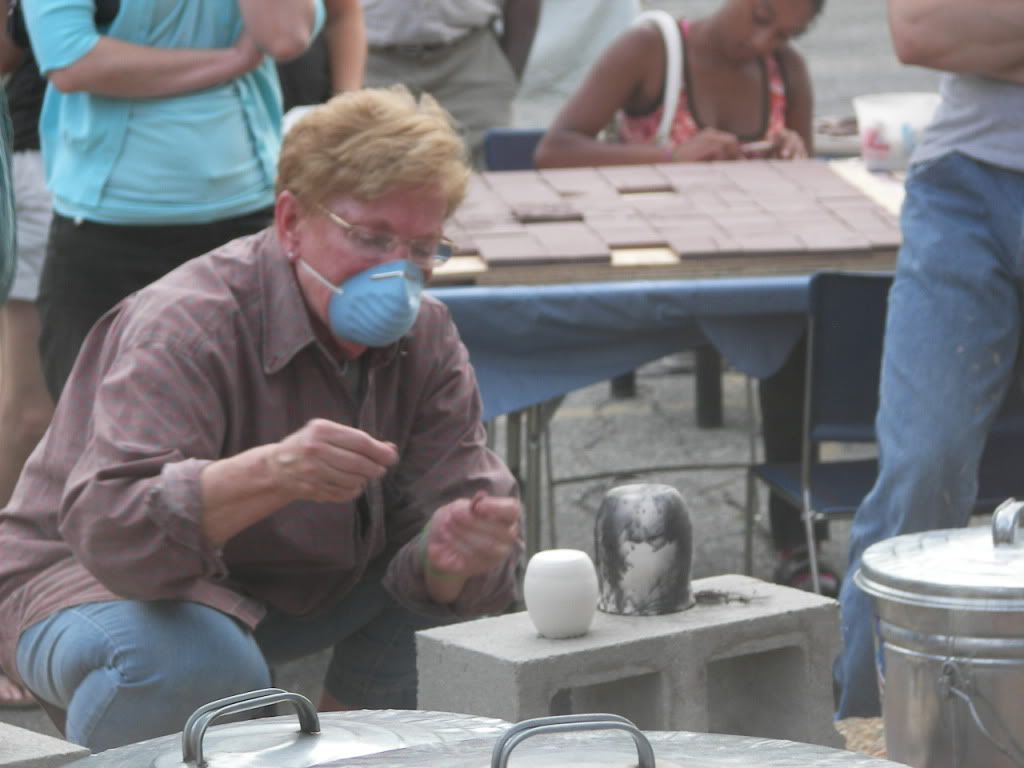
Raku sample

For those of you unfamiliar with Raku, during the firing of pottery, different elements are added to a kiln to produce smoke and fire. This alters the glaze that was applied to each piece and gives a unique personality.


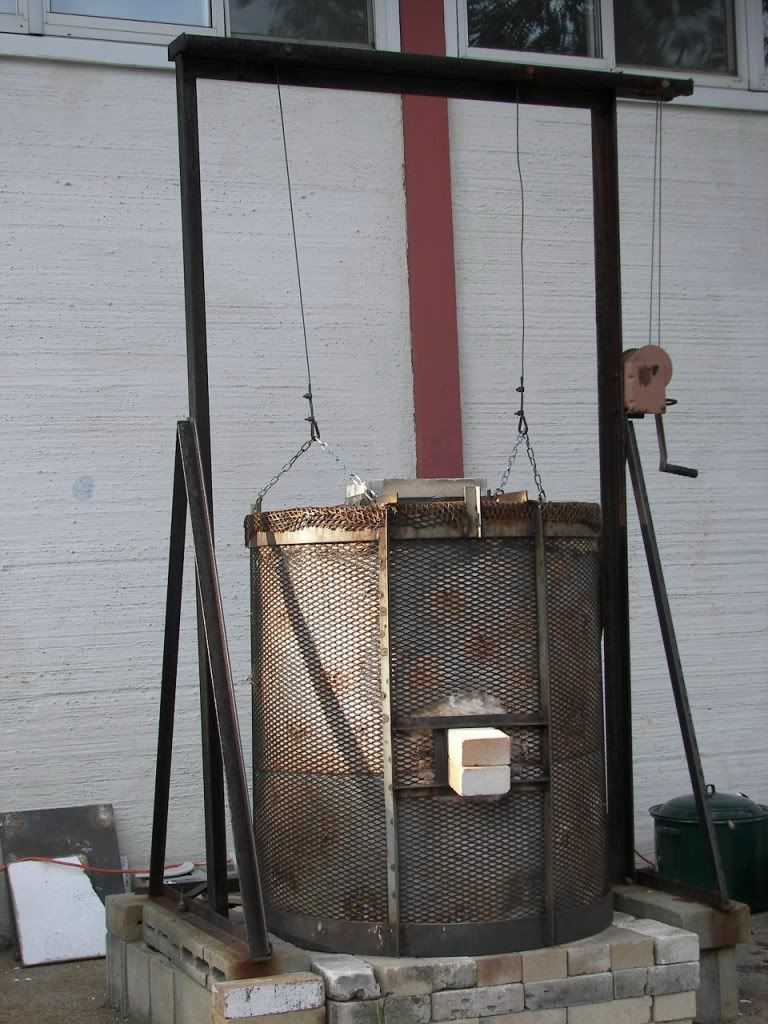
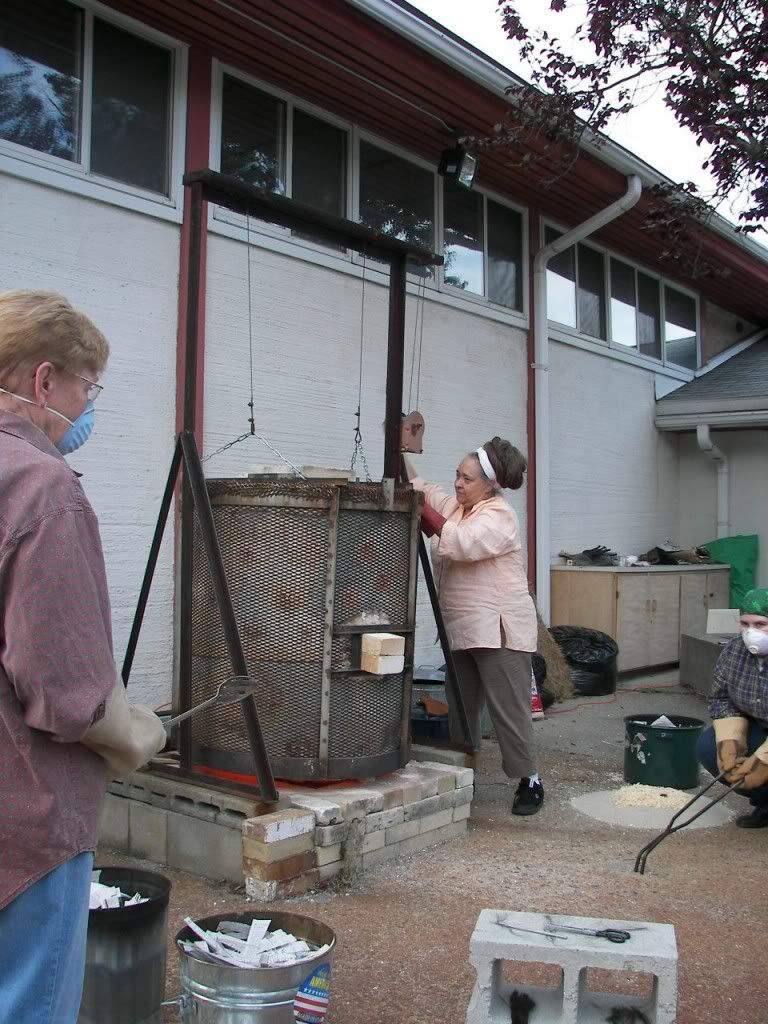
In THIS case, a more rudimentary (as in how it was done centuries ago!) set-up of outdoor kiln,

Outdoor Kiln


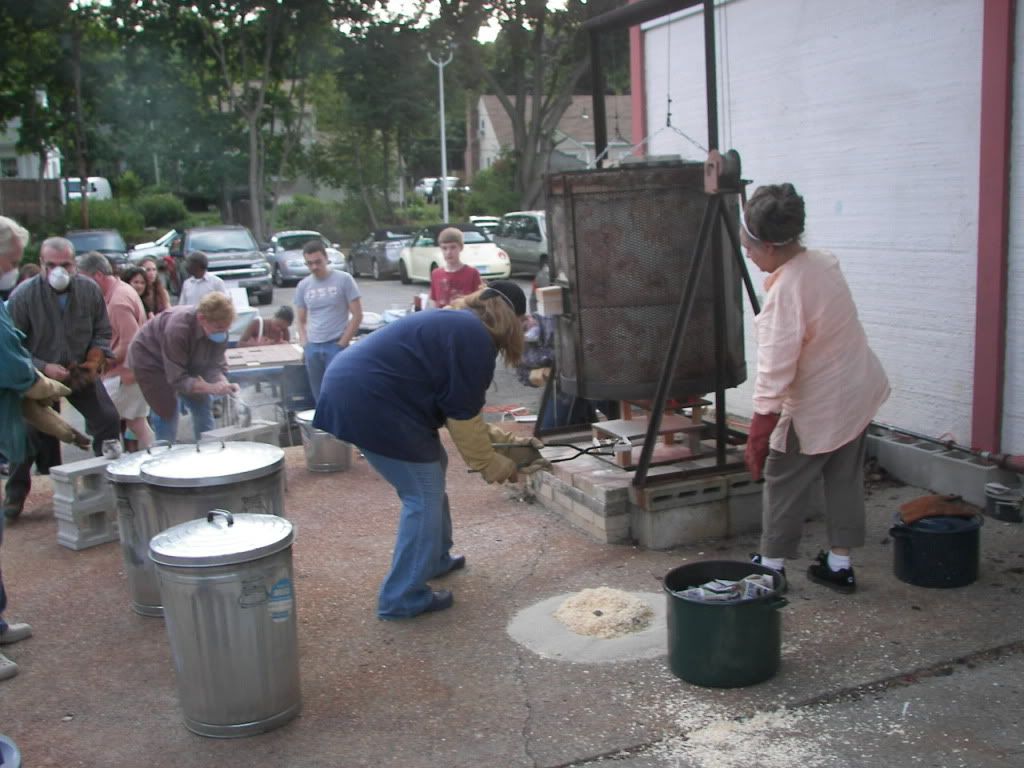
giant iron tongs to remove pieces

Removing of pottery pieces for Raku treatment


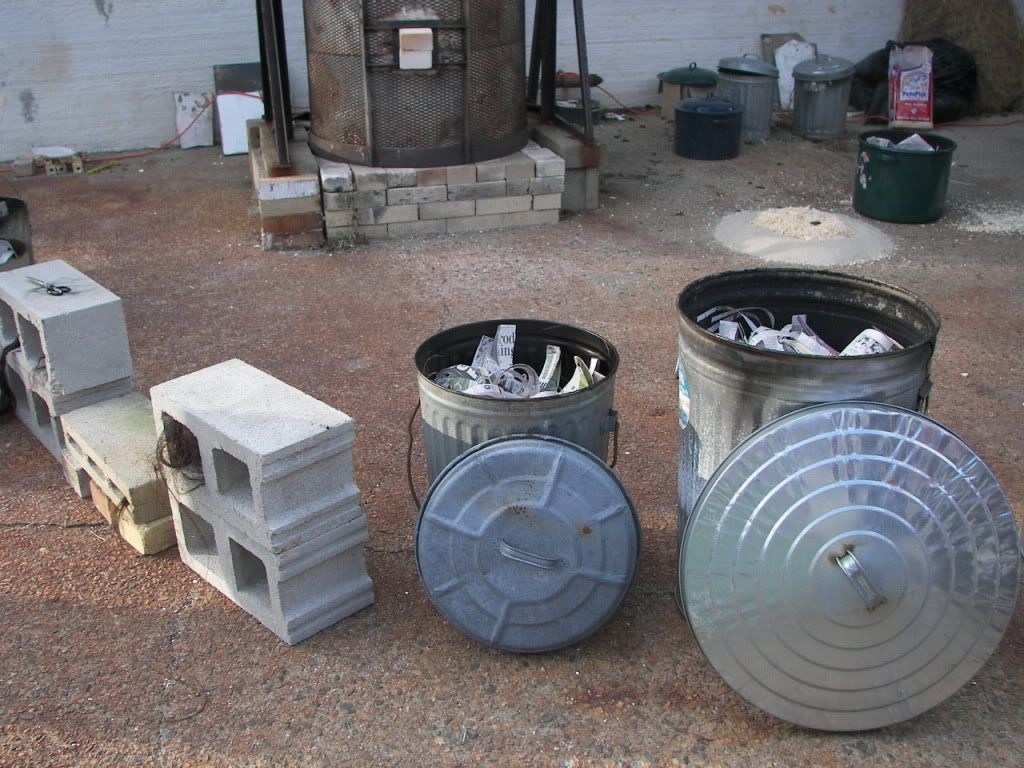
and people scrambling to drop them into trash cans filled with ripped newspaper and straw. 


The waiting cans


Raising the kiln to remove pieces


It was simply awesome to watch them draw up the top of that giant beast of a kiln and treat the pottery.


They even demonstrated various techniques of Raku using a covered pot, a spray bottle of water and wrapping horse hair onto unglazed pottery.  

Horsehair application to hot pottery
All VERY educational and utterly inspiring.

The find out more about the Worcester Center for Craft's or to see their full spectrum of classes, please visit their website. Or find them on Facebook here.


August 2, 2010

MONDAY'S MUSINGS - Guest Author Mandy of Just Gimme Coffee

Most folks dread Monday's but in my world, every Monday is a new beginning. And what better way to start off a new week with a fresh perspective? So ever Monday will feature the musings of someone new, fresh and different - a "Guest Author".

This week I am proud to feature the musings of Mandy, author of the blog Just Gimme Coffee. She endeavors to restore a little sanity to her life by celebrating the simple pleasures. She lives in North Carolina with her husband, tween son, preschool daughter and lovable mutt Jackson. Having worked with children all her life as a summer camp director, teacher, speech therapist and mother, she has come face-to-face with a lot of bored kids! So this week she's musing about kids and creativity. Just in time for summer vacation!


Photo by gfpeck

The same thing happens every year…the summer doldrums!  Every mother recognizes this stage in her children’s lives. The kids are far enough into summer break that the excitement of its newness has worn off, and “I’m bored,” becomes the new mantra. Who do these bored children turn to for a solution? YOU, of course! You are not only mother and chauffeur and cook and maid (and the list goes on), but you are chief entertainer as well!

So what’s a busy chief entertainer to do? Well, I’m all about passing the buck right back to the kids!

The American poet and satirist, Dorothy Parker, perhaps said it best, “The cure for boredom is curiosity. There is no cure for curiosity.”

Our kids are bored and hassling us because their curiosity is broken. So why are their natural creative spirits not at work? Doesn’t every child come into this world with the potential for great creativity? Well, there may be a variety of reasons, but here are two leading causes:

1. A learned helplessness. Why think for myself? I can let others do it for me.

In our modern-day, technological, instant and hurried world, kids learn to let others be creative for them. They learn to sit on the sidelines when it comes to imagination and become spectators.

2. An unfounded fear. Why take a risk? My ideas may not be right.

Unfortunately kids learn quickly that the focus in our society is on being right and being the best. Anything else doesn't count. As a result, children learn to approach life this way. They hold back their thoughts and ideas for fear they may not be right, or accepted or good enough to pass.

So what can we do to combat this helplessness and fear in our kids? Unfortunately creativity does not grow overnight. It is a process, an attitude that develops slowly and has to be modeled, taught and nurtured by parents, just like all other values we seek to instill in our kids.

So, the long-term cure?

1. Make non-stimulating “down-time” a regular habit in their lives. Force them to think for themselves.

2. Provide and encourage more open-ended activities. Encourage them not to stress about, “getting it right.”

You know the saying, "If I give a man a fish, he will be satisfied for a day, but if I teach him to fish, he will be satisfied for a life-time." The same idea applies when it comes to kids' imagination and creativity. If I provide my child with the idea for a pre-defined, closed-ended activity,then he will be satisfied for a day (well not even a day, more like ten minutes); but if I teach my kid to seek out "down-time" to have the opportunity the create for himself, the he will be satisfied a whole lot longer!


Photo by zen


What are some practical ways to apply the cure?

1. They may design a new character for a show they have recently watched.

2. They could develop a whole new story involving familiar characters.

3. They could act out the new storyline using themselves or using toys.

4. They could create a new game to play, either live-action (like tag) or a board/card game.

5. They could create an alternate ending for a story they have read.

6. They could create a notebook about a topic of interest. You know, all those millions of questions they ask you on a regular basis! Tell them to look it up!
These are just a few examples. The sky is the limit! The key is to make regularly scheduled “down times” and to help your child think open-ended.

I'm not saying this will be easy. They will resist! Be prepared to invest a little more of your time and energy up front in both suggesting ideas and helping them follow through on them. However, despite the whining and complaining, you must be strong in your convictions. Set a timer if it helps, and refuse to allow them to engage in an activity where the creativity is provided by another until the buzzer goes off. As they come to accept that Mama ain’t playing around and she’s really serious about teaching me to use my imagination, curiosity and creativity for myself, then they will slowly give in and experiment.

Then celebrate their accomplishments! Show excitement for what they have done. Hopefully you’ll less frequently hear, “Mom, I’m bored!”  Then you can temporarily remove your chief entertainer hat, and go put on your chef hat, maid’s apron and chauffeur shoes and complete all the other jobs you already have on your list!

What about you? What ideas do you have about helping kids learn to amuse themselves? What has worked for you, or what hasn’t worked? Please share!

August 1, 2010

new site design...

I'm a typical artist, I know. I can't live long term (what the rest of the world considers short term! lol) with things staying the same; ESPECIALLY my surrounding. I look at my blog every day so it's like my living room. Once a month, I have to rearrange the furniture and accessories. I'd redo the whole stinkin room if I could accomplish it in a couple hours but repainting walls is time consuming and messy. NOT SO WITH A BLOG THOUGH! muwahahahahah

Last night at 2am, I unleashed the new design and color scheme. Gone is the red which was starting to make me anxious. Here's a color sample of the old design:


Now I'm looking to do my market research so if you've stumbled upon this post, I'm hoping your a chatty person who'll take a moment to help a stranger out. I have a few questions which can be simply answered in a comment (see below for the "comment" option). You have absolute amnesty in this department as I am sincerely seeking feedback from strangers and NOT "Yes-Men." I totally want you to be BRUTALLY honest!

1. if you couldn't read the site (like maybe you speak Mandarin Chinese), would the site still convey to you that it is an "artistic" site?
2. is the site too cluttered with buttons and gadgets for your taste?
3. did you scroll all the way down to the bottom of the site? If not, can you please tell me how far you scrolled (please do this by the # of posts you scrolled past)
4. did the site make you feel curious enough to explore more here? If not, WHY not?
5. does the subject of art & creativity interest you at all? if so - what areas??
6. did any (or all) of the ads distract or annoy you? if so, which ones?


July 31, 2010

Ceramic Activity


Ok..since this IS a blog on creativity, my first "How To" is a ceramics activity. I recently taught a class at the local ceramics shop using an inlay technique which is an EASY project. It will not overload anyone who has fears about not being very creative. Think of it as testing the waters with a toe!

You can purchase bisque pieces at local craft shops but for this activity, I suggest a local ceramics studio since they will have both the glazes AND kiln that you will need to fire your piece. Check your local listing for a Clay Painting studio!


Supplies:
1 ceramic bisque item (NOT GREENWARE).
2 different colors of ceramic glaze
1 or more scrapbooking paper (cardstock ONLY) flourishes from Sizzix, Cricut, etc
1 paint brush
1 bowl of water (preferably flat)
Newspaper to protect your work area

Instructions:

1.  Select 2 paint colors for your ceramic. In this case, I chose pink and brown.

2.  Decide where you would like to apply your stencil and ensure it will fit. Make any modifications to the stencil by snipping off excess. Set aside. 


3.  Paint 3 coats of your base color on the areas where you will be placing your stencil. Allow to dry completely (use hair dryer to speed process)


Soak your stencil


4.  Soak your paper stencil in water for a few moments to soften slightly.


Pat the stencil down with a wet brush


5.  With caution, lay the stencil on top of the base coat and with a damp brush, pat down firmly. Check to ensure all the edges have adhered. If needed, use your finger tips to press firmly.

drying!


6.  Paint 3 coats of your top color. Allow to dry.
 
Use pin to  lift flourish


7.  With a pin or your finger nail, gently work one of the edges of your stencil up and begin to GENTLY peel the stencil off. Do not worry about slightly jagged edges.


Peel carefully!


You can use a petite brush to fill in any voids of paint.


 8. Fire your piece!

*Please note: this technique will work with acrylic paints but your ceramic will not be food safe AND you will have greater difficulty in removing the stencil.